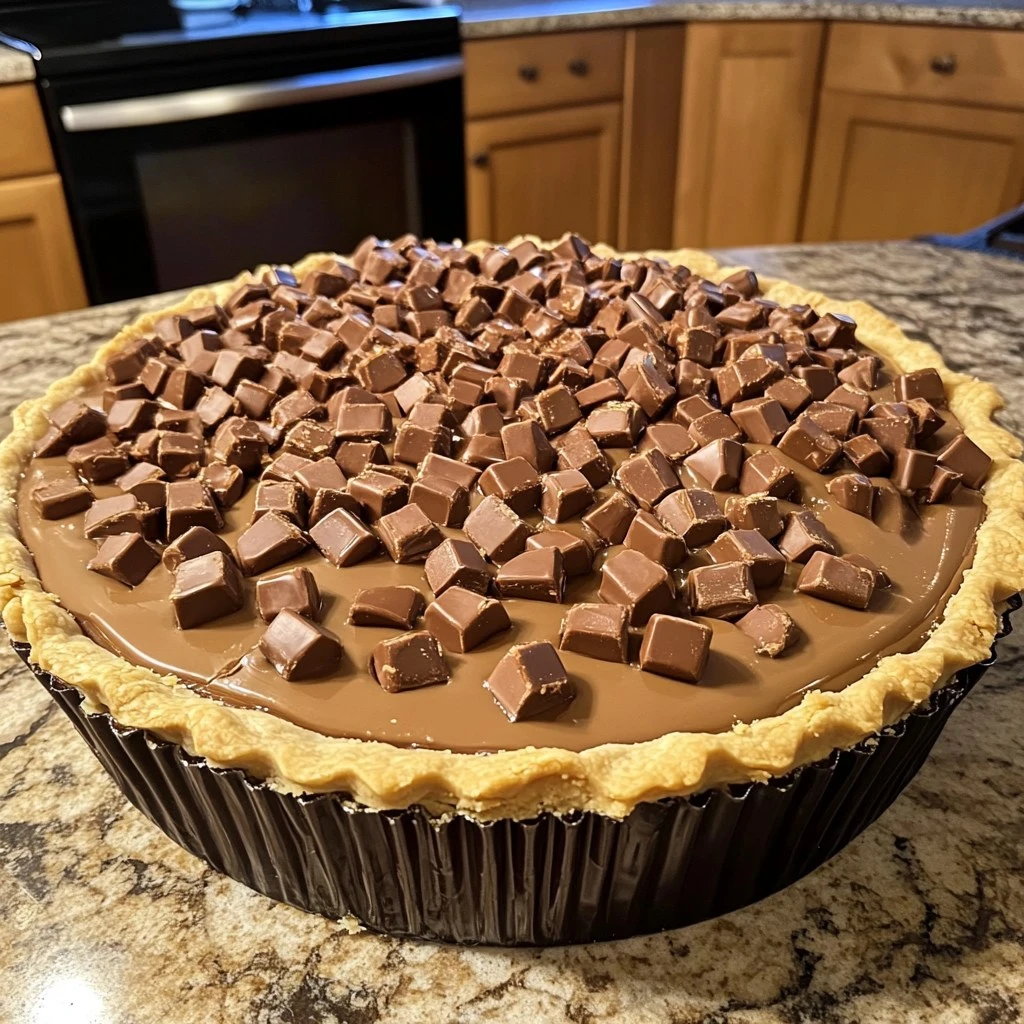
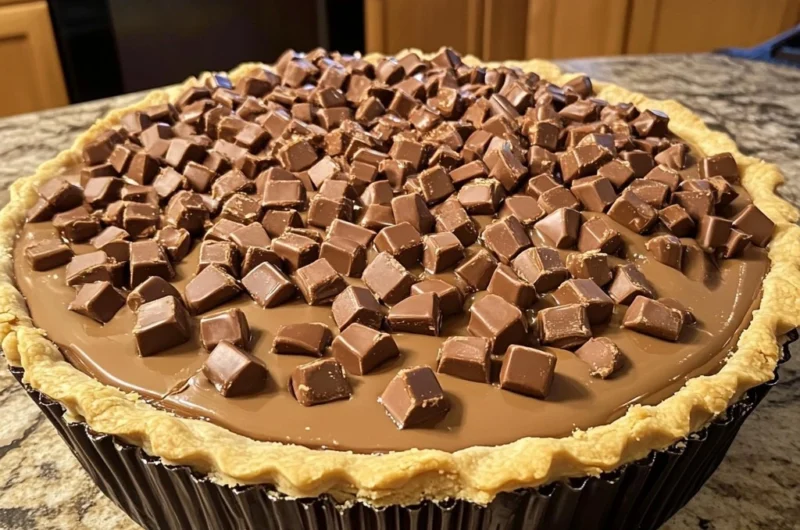
This Giant Reese’s Peanut Butter Cup Pie is a dream come true for peanut butter and chocolate enthusiasts. Resembling an oversized version of the classic candy, this no-bake dessert features a creamy peanut butter filling encased in a rich chocolate shell, offering a delightful blend of textures and flavors.
Why You’ll Love This Recipe
- Decadent Flavor Combination: The harmonious blend of smooth peanut butter and rich chocolate creates an indulgent treat reminiscent of the beloved Reese’s Peanut Butter Cups.
- No-Bake Convenience: This pie requires no baking, making it a straightforward and quick dessert option.
- Impressive Presentation: Its giant size and striking appearance make it a show-stopping centerpiece for any gathering.
- Customizable: Easily adjust the sweetness or add mix-ins like crushed pretzels or caramel for a personalized touch.

Ingredients
- Creamy Peanut Butter: Provides the rich, nutty base for the filling.
- Powdered Sugar: Sweetens and stabilizes the peanut butter mixture.
- Salted Butter: Adds richness and a slight savory note to balance the sweetness.
- Milk Chocolate: Forms the luscious outer shell encasing the peanut butter filling.
- Vegetable Oil: Ensures a smooth, sliceable chocolate coating.
How to Make a Giant Reese’s Peanut Butter Cup Pie
- Prepare the Peanut Butter Filling: In a large mixing bowl, combine creamy peanut butter, powdered sugar, and melted salted butter. Stir until the mixture is smooth and well-blended.
- Melt the Chocolate: In a microwave-safe bowl, combine milk chocolate chips and vegetable oil. Microwave in 30-second intervals, stirring between each, until the chocolate is fully melted and smooth.
- Assemble the Pie:
- First Chocolate Layer: Pour half of the melted chocolate into a 9-inch non-stick tart pan with a removable bottom, ensuring the bottom is evenly coated. Refrigerate for about 10 minutes to set slightly.
- Add Peanut Butter Filling: Once the first chocolate layer is set but still slightly tacky, press the peanut butter mixture evenly over it, leaving a small gap around the edges.
- Top Chocolate Layer: Pour the remaining melted chocolate over the peanut butter layer, spreading it to cover completely and fill the edges.
- Chill the Pie: Refrigerate the assembled pie for at least one hour, or until fully set.
- Serve: Once set, remove the pie from the tart pan, slice, and enjoy!
Giant Reese’s Peanut Butter Cup Pie Recipe
Course: DessertCuisine: AmericanDifficulty: Medium10
servings20
minutes2
hours390
kcal2
hours20
minutesA rich, chocolatey peanut butter pie that tastes just like a giant Reese’s cup!
Ingredients
- For the Crust :
2 ½ cups chocolate cookie crumbs
½ cup melted butter
- For the Peanut Butter Filling:
1 ½ cups creamy peanut butter
1 cup powdered sugar
¼ cup unsalted butter, softened
1 teaspoon vanilla extract
- For the Chocolate Topping:
2 cups semisweet chocolate chips
½ cup heavy cream
Instructions
- Prepare the Crust:
-Mix chocolate cookie crumbs with melted butter.
-Press into a 9-inch tart pan or pie dish.
-Chill for 15 minutes. - Make the Peanut Butter Filling:
-Beat peanut butter, powdered sugar, butter, and vanilla until smooth.
-Spread evenly over the crust. - Melt the Chocolate:
-Heat heavy cream until warm (not boiling).
-Pour over chocolate chips and stir until smooth. - Assemble & Chill:
-Pour melted chocolate over the peanut butter layer and smooth the top.
-Refrigerate for at least 2 hours before serving. See less
Comments
Notes
- Use High-Quality Chocolate: Opting for premium milk chocolate enhances the overall flavor and texture.
- Ensure Smooth Chocolate Layers: Adding a small amount of vegetable oil to the melted chocolate helps achieve a glossy finish and makes slicing easier.
- Customize the Sweetness: Adjust the amount of powdered sugar in the filling to suit your taste preferences.
- Storage: Store any leftovers in an airtight container in the refrigerator for up to a week.
Enjoy crafting and indulging in this Giant Reese’s Peanut Butter Cup Pie—a delightful dessert that brings the classic candy experience to your kitchen!